Maple Tapping Instructions:
Supplies
- A portable drill or hand drill, with a 7/16-inch drill bit, to drill your tap-holes
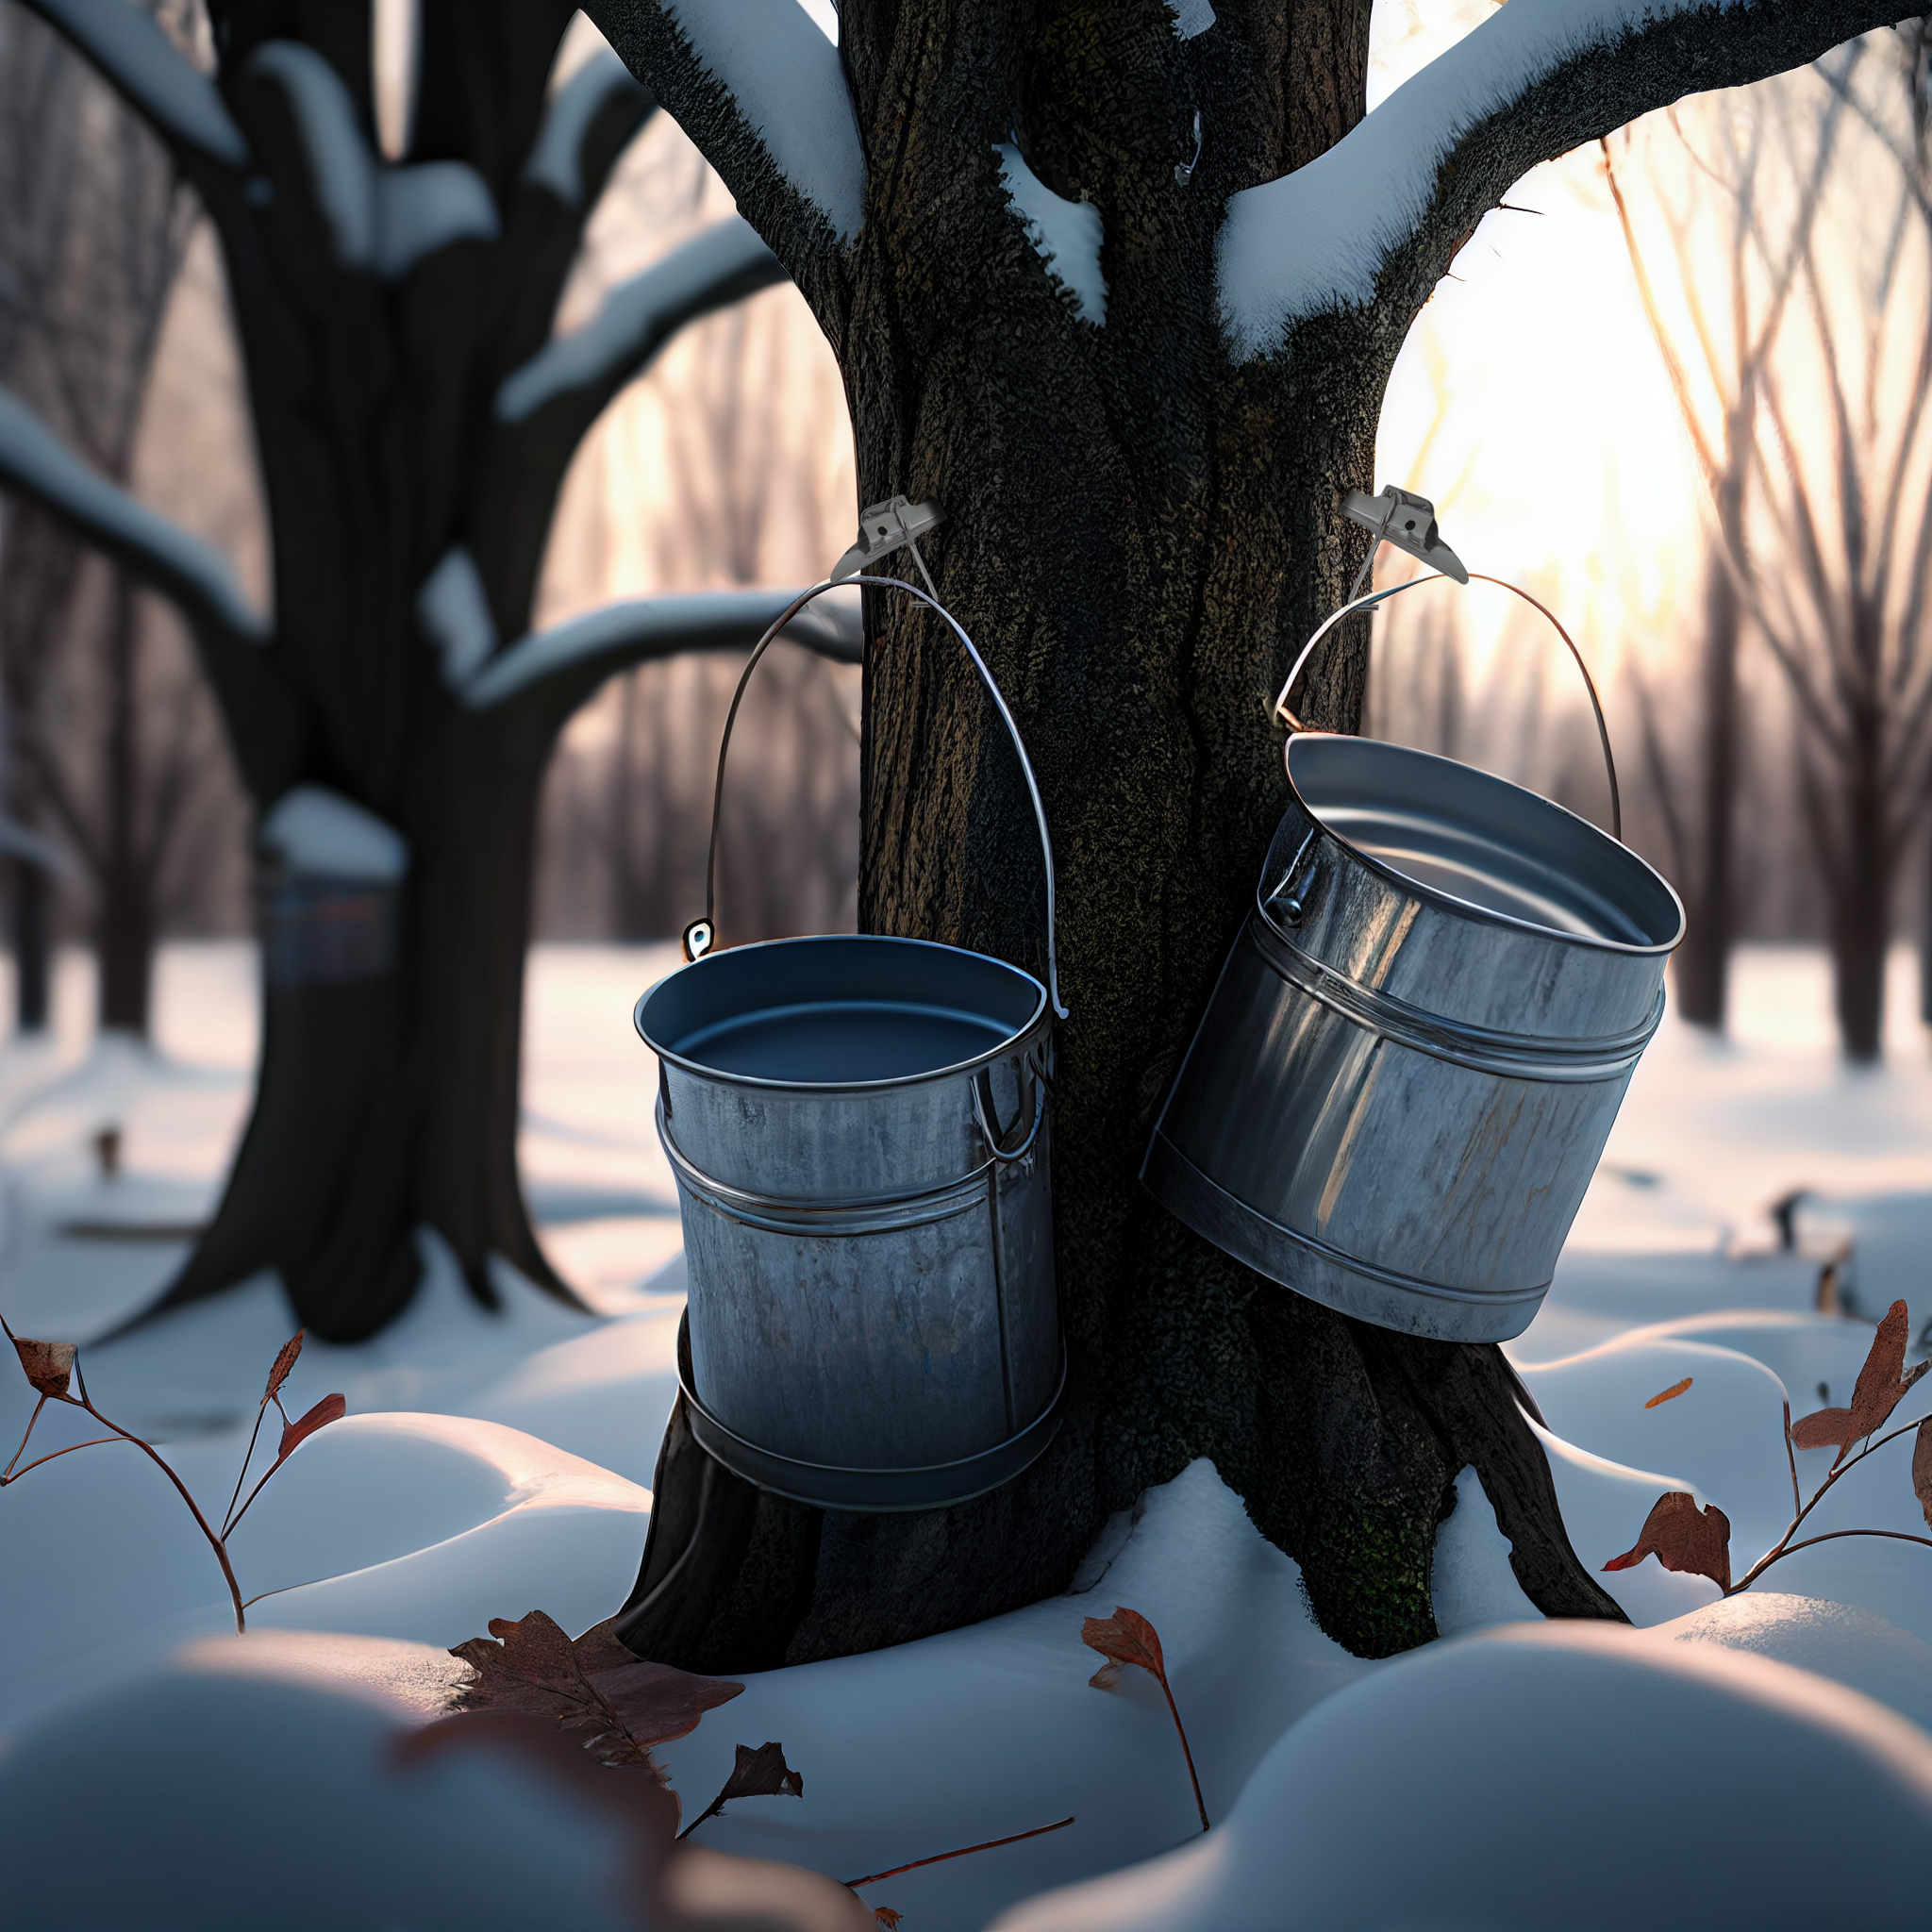
- Buckets are required for catching sap (2-4L in size)
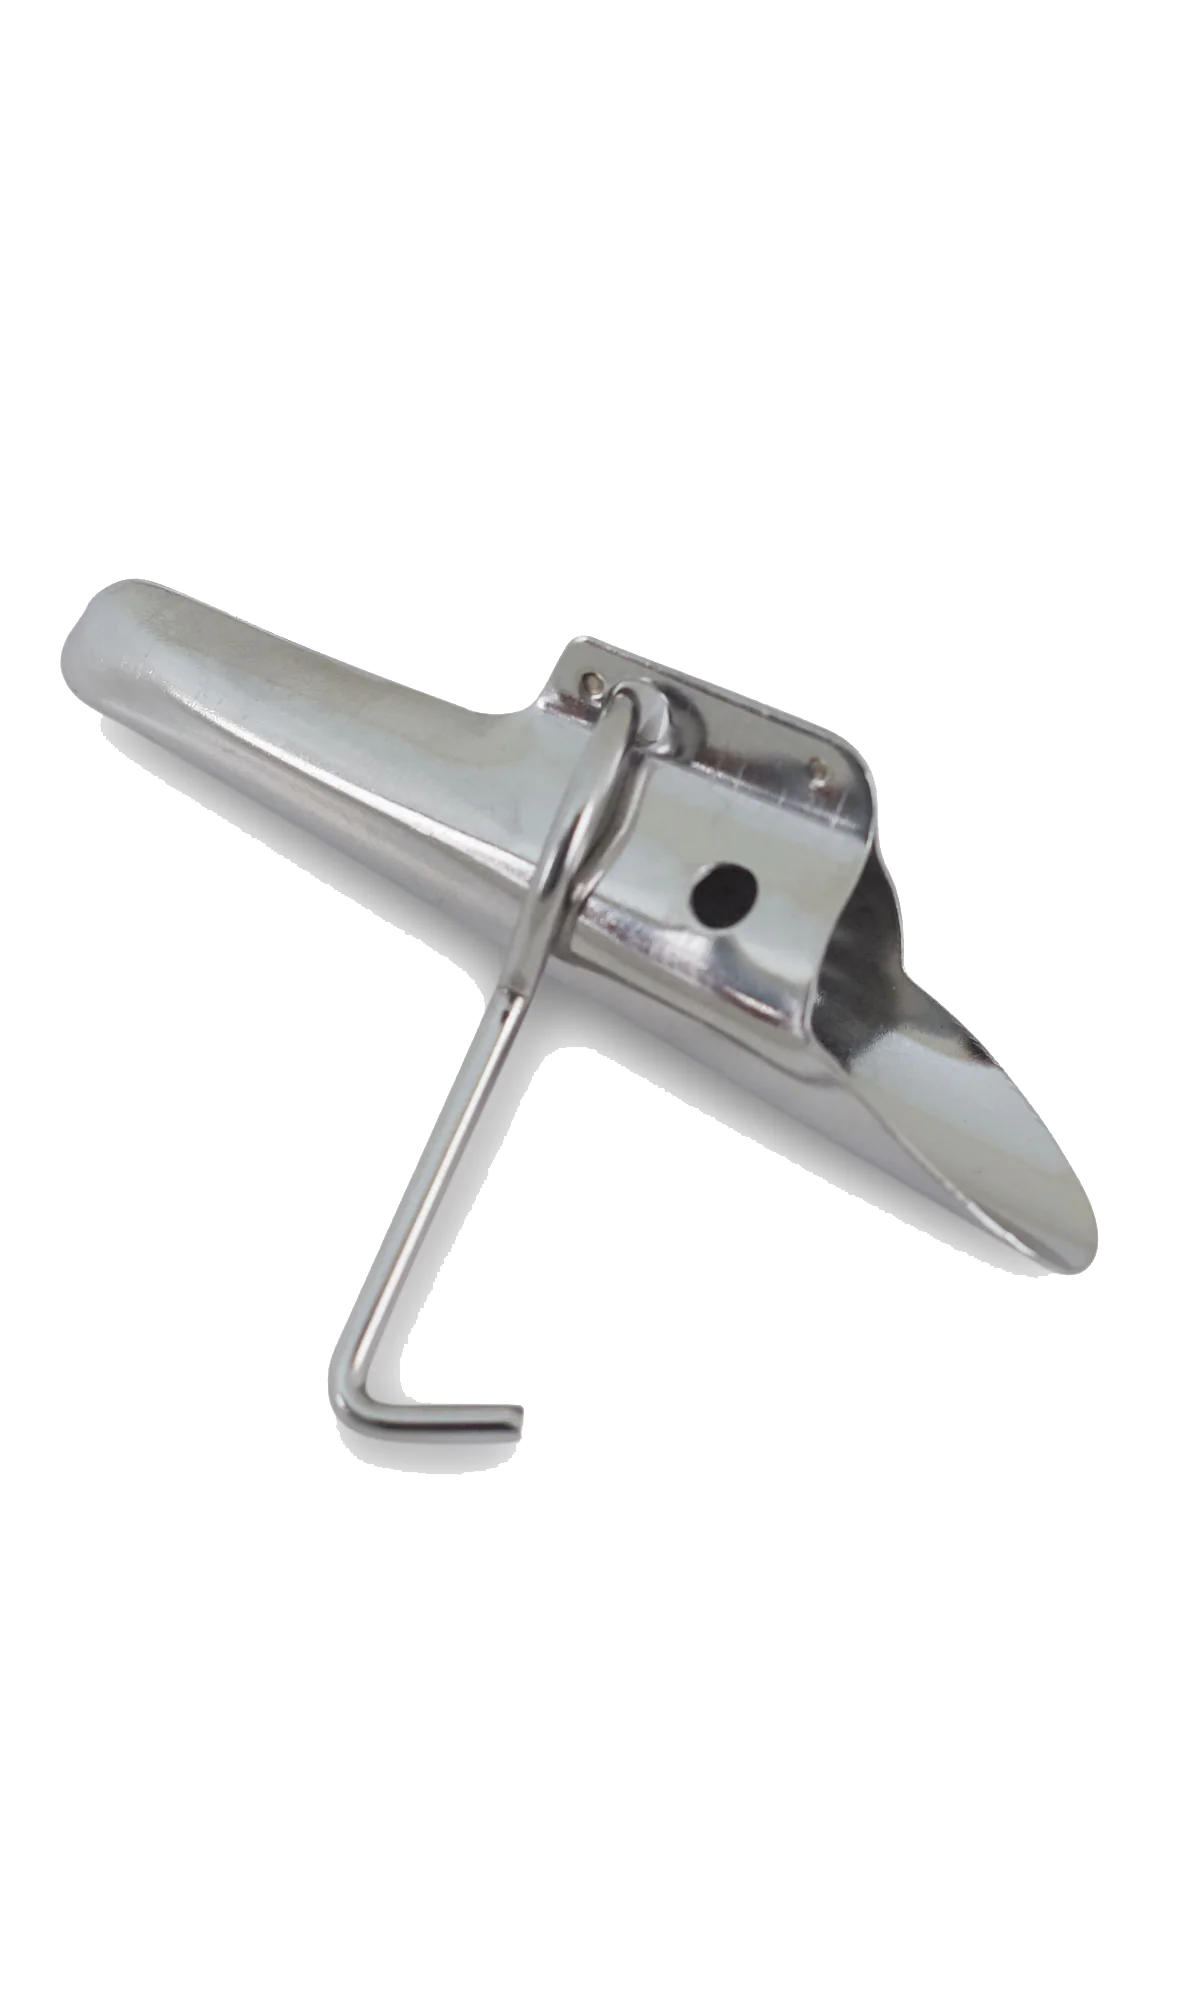
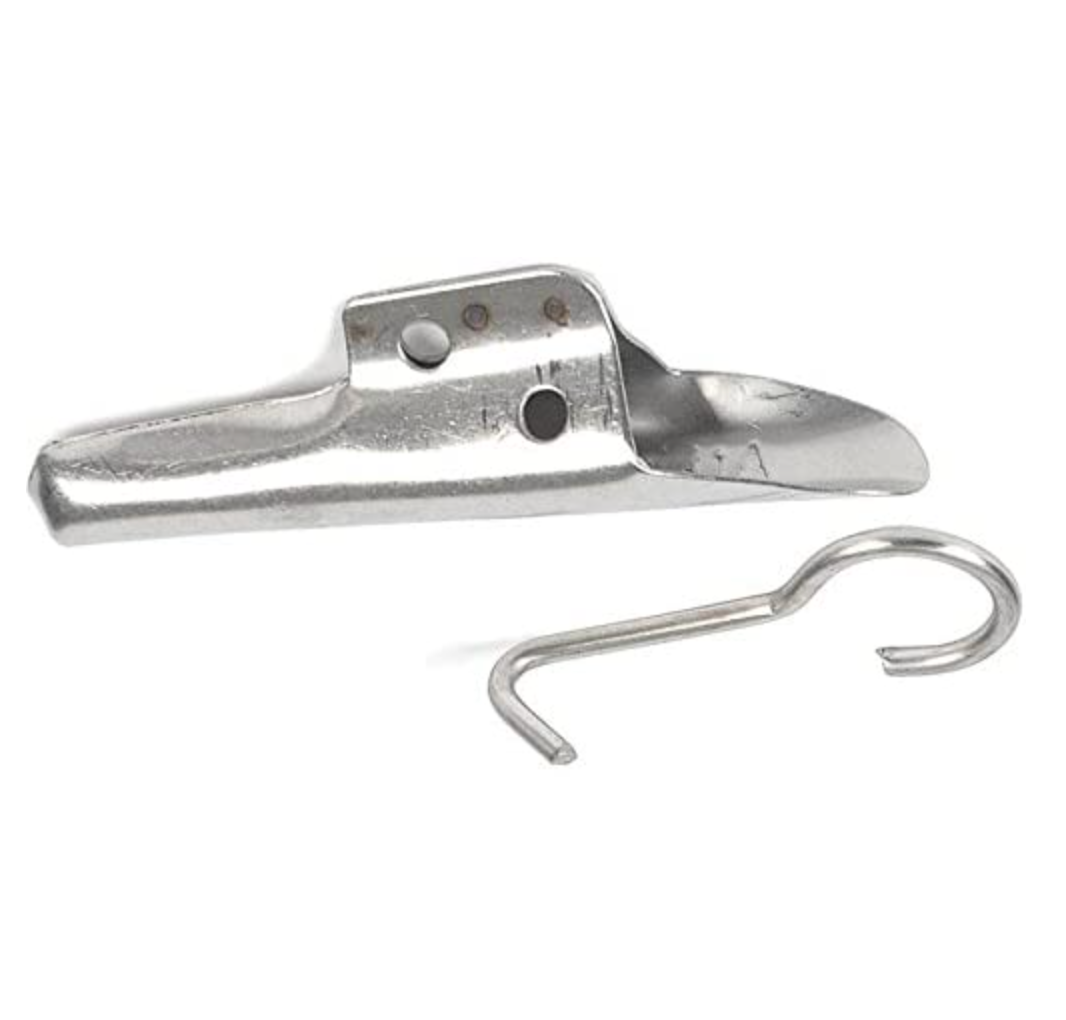
- Metal tree taps
- A hammer is necessary to drive the taps in
- A large stock pot
- Jam jars or fancy bottles for storing
- Felt for filtering your syrup (optional)
Installing the Taps
Drill your tap holes and install your taps in late February/into March. There is no specific date, it is temperature related. As soon as there are two days in a row that are above freezing, it’s time.
To install your taps, drill into the tree an inch and a half (4cm or so), on about a 20 degree upward angle, so the sap can flow downwards out the spout. You’ll notice the taphole become wet, clear out the wood shavings from the centre of the hole and hammer tap in. If you are tapping a tree you tapped last year, locate the new tap hole 6 inches away from last year’s tap hole. When you see cloudy sap, its time to pull your taps.
Processing the Syrup
- Maple sap is almost entirely water (96%!) and 2-3% sugar. Maple syrup is what remains after you boil off a majority of the water. Raw sap is a little bit like fruit juice – it’ll spoil if it’s left too long or if it gets too warm for too long, but since it’s quite cold out still you can leave your sap outside, in a place away from the sun.
- So, to get syrup, 90% or more of what you collect has to go up in steam. This involves a lot of boiling down This creates a lot of steam, so you’ll need a fan and an open window, and probably a rag to wipe up any condensation. Overall, this is a manageable problem.
- Fill up a large stockpot with clear sap, and get it boiling. Keep adding sap to the pot as the water evaporates. The boiling will reduce any impurities in the sap as well as leaving calcium deposits. Skim the foam off the top every so often. The boil down process typically takes a few hours, but in the early stages the pot can be left unattended for 20-30 minutes at a time while you putter about. As you boil your maple sap it will gradually colour, becoming amber as the water evaporates off and the sugar content concentrates and carmelizes.
- When the temperature rises to 101°C, it is time to stay close to your pot, the temperature climbs faster towards the end of the boildown and you do NOT want to have to clean hardened sap off your stovetop! The correct temperature for reducing to maple syrup is a consistent 104°C on a candy thermometer, although this can be adjusted by a degree either side once you have made maple syrup and have decided to try for thicker, or thinner, syrup. Optionally, filter the syrup through a felt sleeve or coffee filter. Once the syrup has reached 104 degrees and has been filtered, it simply needs to be brought back to a boil in order to sterilize the syrup for bottling. Unlike before, with the water mostly evaporated, the second boil takes mere minutes.
- Bottled syrup is shelf stable and can be stored in the same fashion as jams – refrigerate after opening. Read more at www.foodfirstnl.ca
Maple Tapping Instructions:
Supplies
- A portable drill or hand drill, with a 7/16-inch drill bit, to drill your tap-holes
- Buckets are required for catching sap (2-4L in size)
- Metal tree taps
- A hammer is necessary to drive the taps in
- A large stock pot
- Jam jars or fancy bottles for storing
- Felt for filtering your syrup (optional)
Installing the Taps
Drill your tap holes and install your taps in late February/into March. There is no specific date, it is temperature related. As soon as there are two days in a row that are above freezing, it’s time.
To install your taps, drill into the tree an inch and a half (4cm or so), on about a 20 degree upward angle, so the sap can flow downwards out the spout. You’ll notice the taphole become wet, clear out the wood shavings from the centre of the hole and hammer tap in. If you are tapping a tree you tapped last year, locate the new tap hole 6 inches away from last year’s tap hole. When you see cloudy sap, its time to pull your taps.
Processing the Syrup
- Maple sap is almost entirely water (96%!) and 2-3% sugar. Maple syrup is what remains after you boil off a majority of the water. Raw sap is a little bit like fruit juice – it’ll spoil if it’s left too long or if it gets too warm for too long, but since it’s quite cold out still you can leave your sap outside, in a place away from the sun.
- So, to get syrup, 90% or more of what you collect has to go up in steam. This involves a lot of boiling down This creates a lot of steam, so you’ll need a fan and an open window, and probably a rag to wipe up any condensation. Overall, this is a manageable problem.
- Fill up a large stockpot with clear sap, and get it boiling. Keep adding sap to the pot as the water evaporates. The boiling will reduce any impurities in the sap as well as leaving calcium deposits. Skim the foam off the top every so often. The boil down process typically takes a few hours, but in the early stages the pot can be left unattended for 20-30 minutes at a time while you putter about. As you boil your maple sap it will gradually colour, becoming amber as the water evaporates off and the sugar content concentrates and carmelizes.
- When the temperature rises to 101°C, it is time to stay close to your pot, the temperature climbs faster towards the end of the boildown and you do NOT want to have to clean hardened sap off your stovetop! The correct temperature for reducing to maple syrup is a consistent 104°C on a candy thermometer, although this can be adjusted by a degree either side once you have made maple syrup and have decided to try for thicker, or thinner, syrup. Optionally, filter the syrup through a felt sleeve or coffee filter. Once the syrup has reached 104 degrees and has been filtered, it simply needs to be brought back to a boil in order to sterilize the syrup for bottling. Unlike before, with the water mostly evaporated, the second boil takes mere minutes.
- Bottled syrup is shelf stable and can be stored in the same fashion as jams – refrigerate after opening. Read more at www.foodfirstnl.ca